![]()
 |
 |
 |
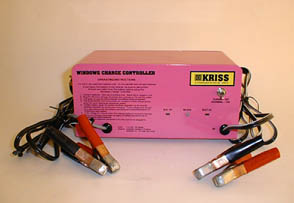
| This current web page replaced the business web site when I retired in 2018. For those who know I started a small electronics manufacturing company in 1986 in addition to being a pilot I'm very pleased to say my retirement from business freed me from the complexities dealing with sales to a market where quality wasn't valued. It was a different experience than working in the cockpit of a jet airplane with educated professionals. I've always taken issue with those who were parsimonious. Everyone chooses how they want to live. We all hope to live long lives so it seemed a good choice as a young man to spend it in the pursuit of quality and willing to pay the cost rather than pursuing the cheapest. Now that I'm away from the retail market I ask that you respect my privacy and please don't ask for information about your Gold Wing or Harley motorcycle products as some have done. Thank you. |
||
When I sell, it will be made available only to someone willing to pay the appraised value (CHECK HERE ) |

I'm in no way associated with any gun people or manufacturers of the same name.
![]()
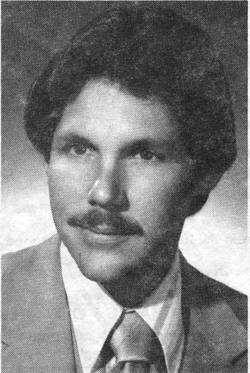
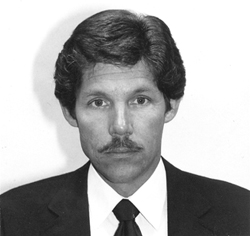
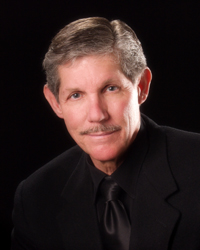
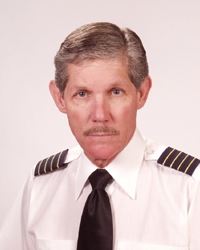
George H Kriss
Here are some pictures for those who've known me over a number of years.
(Yes, I grew up in Arcadia, California)
Please contact me for links to private pages - see below
 |
 |
 |
 |
36 years |
40 years |
60 years |
2023 Today - I'm a bit smarter |
Learjet pilot in Tucson, AZ
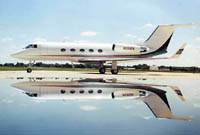
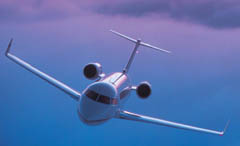
A brief synopsis from my days as a professional pilot.
|
|
||
 |
|

My world view - "Be humble about your accomplishments."
This is factual information similar to a resume' or CV.
I seldom discuss any of this on a daily basis for obvious reasons.
|
Some detailed information - my background encompasses over 30 years of flying experience including the position as a corporate pilot operating turboprop, turbojet and turbofan aircraft. Extensive world wide experience includes Europe, the Mediterranean, the Middle East and Southeast Asia. The western hemisphere includes North and South America. Operated a King Air 200 and a Learjet 25 for the Northrop Aircraft Company while living in Daharan, Saudi Arabia for three years in the 1970's. This was one of the best choices in my life as it directed my life and career in an enviable direction. After return from overseas in 1980 I flew a Learjet a short time for the guys who owned and crewed the Double Eagle balloon that made the first Atlantic crossing. I joined the Learjet Corporation in 1980 at the Tucson facility. After ferrying a Learjet 36 to Geneva Switzerland in the 1980's and a brief stay living in Geneva flying for the owner I then did some corporate flying and crew training in Sao Paulo Brazil for the owner of a Learjet 35.. The owner in Switzerland used the Learjet between his home base in Geneva Switzerland and France, the United Kingdom and Canada. The Learjet in Brazil was used in country as well as other South American countries, the Caribbean and to the United States. The 1980's were spent with the Learjet factory in Tucson Arizona as a Factory Marketing Demonstration Pilot. These duties included corporate transport, company representation at aviation conventions like the Paris Air Show or the National Business Aircraft Association. Many times it was necessary to fly a customers trips and assist the company officials while their crew members were in ground training at Flight Safety. An important aspect of our job was the training of customer crews including Air Force C-21 pilots. Some of my collateral duties included occasional production flight testing which included stall flights and aircraft certification. Support of the marketing department required transporting corporate executives of companies interested in purchasing a new airplane, or fleet, as well as Heads of State. Often we operated in and out of diverse airports and remote locations that a routine flight operation may never experience. I've flown the Learjet into airports located in narrow valleys in the Swiss and Italian Alps as well as dirt strips in other countries. North Atlantic and Pacific crossings were often included in flights originating or ending in the continental United States. One assignment in 1985 covered Turkey, Saudi Arabia, Pakistan, Spain and lasted for one month. Our duties occasionally included test flights of experimental or new production aircraft. These airplanes ranged from conventional to all glass (EFIS) cockpits and flight test procedures involved all realms of flight including both ends of the flight envelope to insure the aircraft met the FAA safety standards for pilot operations and passenger safety. We even flew "experimental" planes beyond the high speed limits. One flight that was certainly out of the realm of normal was demonstrating some special target tow equipment to the British Royal Air Force and simulating a Dog Fight with an F-15 and a Lightning over the North Sea. All of these very different aspects of our work gave us the chance to see and learn how to handle a jet airplane at its' extremes of the envelope. The job with Learjet gave us an opportunity to fly with and share time with some very well known people which included, for myself, the FAA Administrator, Neil Armstrong and others. The experience gained in those early days with Learjet was something that was priceless and gave us a depth of knowledge about the Learjet airplane and the flight testing of jet airplanes that today's pilots out flying the line will never experience. This type of flight certainly keeps one knowledgeable, respectful and understanding of an airplanes limits. It develops confidence in the airplane. I began experimenting with long range operations while living in the Middle East and this eventually became one of my specialties. I formulated a long range profiles for the Lear 25, Lear 35 and the Learjet 55, prior to the publishing of the 55's Pilots Manual in 1982. This profile was used by some of the Learjet pilots who had access to these numbers. However, they were not widely published out of concern that the attention to the scope and detail required more than that of normal pilot activities on a daily basis. The president of the company and myself achieved six world records in 1983, using my Lear 55 profile, that were recognized by both the Federation Aeronautique Internationale and the National Aeronautic Association of the United States. These included Los Angeles-Paris-Los Angeles in a Learjet 55LR. On a separate occasion in 1982 I conducted the first nonstop flight in a standard Learjet 55 from San Francisco to Honolulu, the longest over water stretch in the world with no place to land for fuel or an emergency. I left Learjet as the Senior Captain in 1989 and continued residing in Arizona after Learjet was sold and operations were moved to Kansas. Not wanting to move away from my home in Arizona and then continuing flying on a contract basis turned out to be another of my good choices as moving to Kansas would have eventually become disastrous. |
|
FAA ratings- ATP ASEL, ATP AMEL, Com'l Glider, Experience: Prior to taking a position overseas in 1977 I spent a number I did some contract flying in 2001 and invested in the Flight Safety PPE Learjet 20 thru 55 (61.58 12/24 month) Simuflite Gulfstream II differences (Part 135.293) Emergency & Water Survival training
|
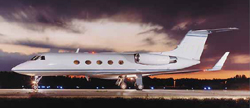
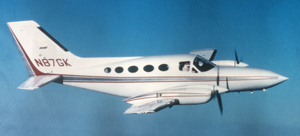
N87GK |

![]()

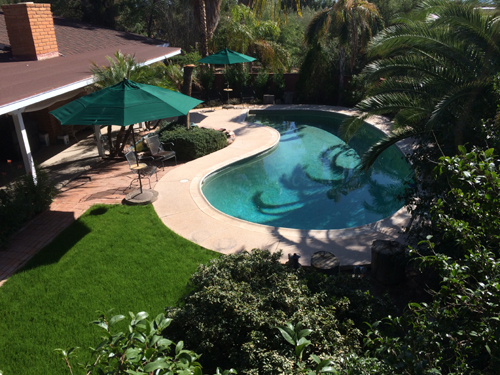
My retirement allows me to enjoy my home of over 40 years with great projects and care of the landscaping.
You can see inside and out on a private page for friends.
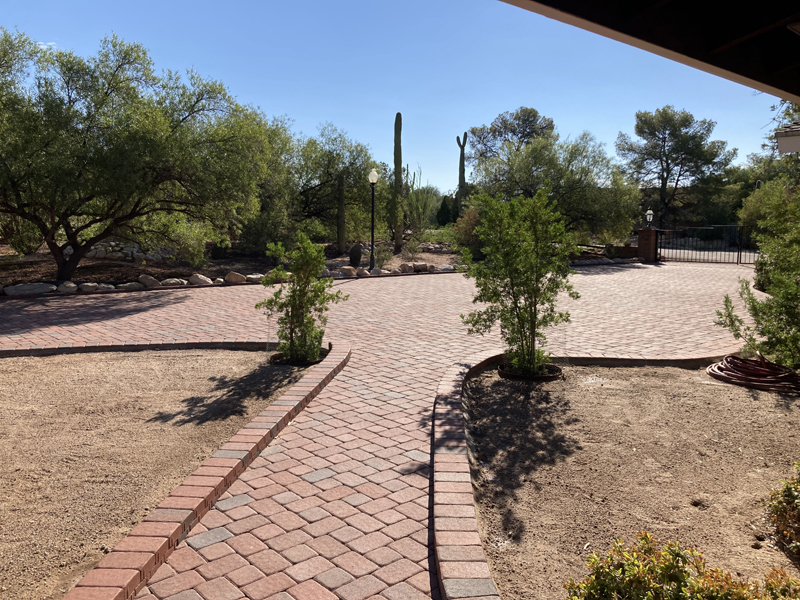
![]() Video - beautiful view of front yard (click on this link and the video will download then you click on the video name for viewing)
Video - beautiful view of front yard (click on this link and the video will download then you click on the video name for viewing)
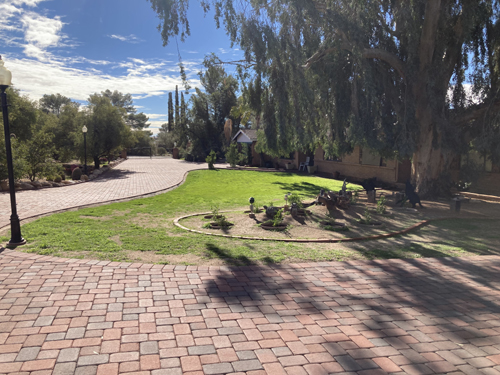 Installation of 7000 sq. ft. brick driveway September 2023 Installation of 7000 sq. ft. brick driveway September 2023 |
George H. Kriss
email to